

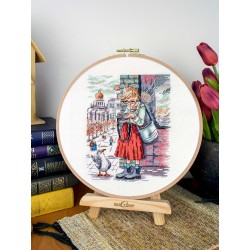
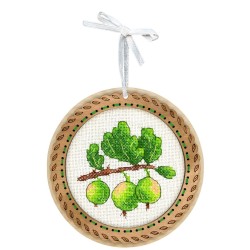
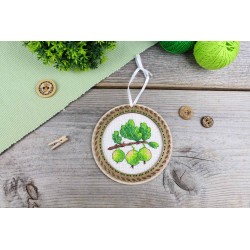
Composition: tinted white plywood 4 mm
The size: 28*20/18*14
Instractions:
1. Choose embroidery for decoration. The fabric on which the work is done must be equal to the size of the frame or be larger than it.
2. Lay piece C over the embroidery so that it fits seamlessly into the frame window. With a simple pencil, circle detail C along the outer contour.
3. Trim the edges of the embroidery along the resulting line.
4. Place part B in the center of part A. Place the embroidery on top of both parts and make sure that the edges of the work do not extend beyond the edges of part A.
5. Then place part C on the embroidery, pressing firmly, so that part B is located in the window of part C. Make sure that the holes of parts A and C are correctly positioned, they must match.
6. Fix the frame parts with clips - one on each side. Place pieces of soft cloth between the clamp and the frame to prevent damage to the frame.
16 other products in the same category:
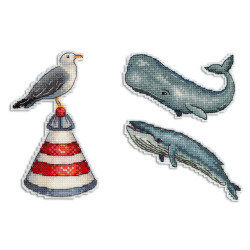
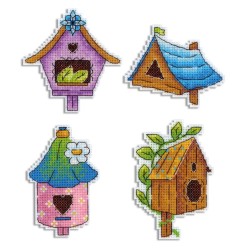
Kit contains: plastic canvas, threads (14 colours), white felt, magnet, chart and instructions. Size: 6x10 cm; 6x9 cm; 12x7 cm
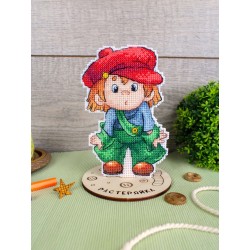
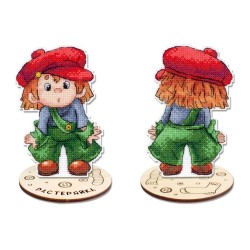
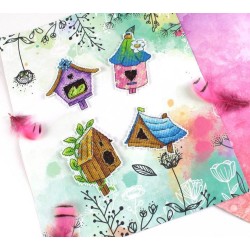
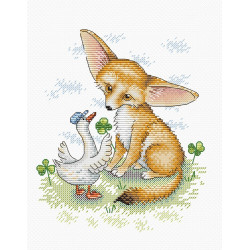
Composition: plastic canvas Aida No. 14, threads of a floss of 22 colors, disassembled on an organizer, a diagram and an embroidery guide. Size: 19 * 13
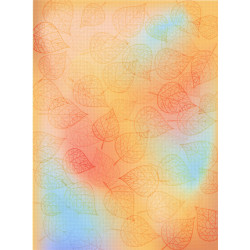
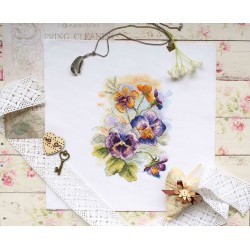
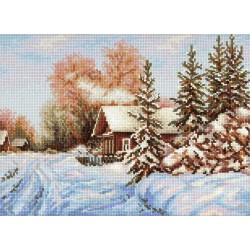
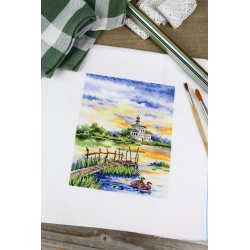
100% cottonNumber of squares: 70 per 10 cm, 18 per 1 inchSize: 40x30 cm (outer size), 27x36 cm (printed background size)

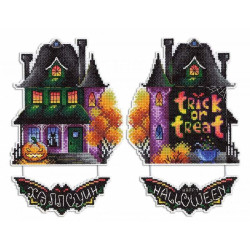
Kit contains: plastic canvas, threads (13 colours), white felt, magnet, chart and instructions. Size: 6x9 cm; 4x9 cm; 13x7 cm

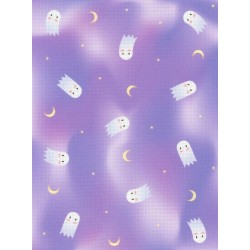
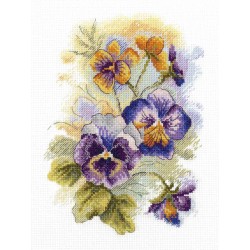
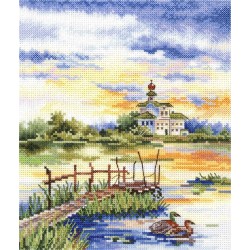
Composition: 100% cotton. Number of cells: in 10 cm - 55. Size: 21 * 30 (external), 18.5 * 26.5 (picture size)
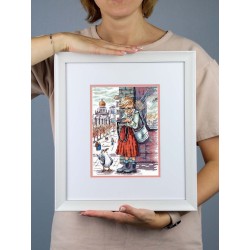
Composition: tinted white plywood 4 mm
The size: 28*20/18*14


error Your review appreciation cannot be sent